DIY Self-Watering Planters from Plastic Bottles
465 views
Introduction: Why This Simple Hack Is Trending Again in 2026
If you’ve ever forgotten to water your plants—or overwatered them into a slow decline—you’re not alone. The rise of low-maintenance gardening and sustainability trends has pushed one surprisingly simple solution back into the spotlight: DIY self-watering planters made from plastic bottles.
This isn’t just a Pinterest craft anymore. With increasing water scarcity concerns and the push toward circular living, more people are turning to micro-irrigation systems at home. A recent 2026 gardening guide highlights how plastic bottle irrigation can reduce water waste by delivering moisture directly to roots, making it especially useful for busy households and small-space gardeners.
What makes this method powerful is its balance: it’s cheap, effective, and surprisingly efficient when done right.
What Is a Self-Watering Bottle Planter (and Why It Works)
At its core, this system uses capillary action—a simple physics principle where water moves upward through a wick or porous material into the soil.
Here’s why it works so well:
- Maintains consistent soil moisture
- Prevents overwatering and root rot
- Reduces watering frequency (often 7–14 days between refills)
- Minimizes water evaporation
Unlike traditional pots, where watering is guesswork, this setup creates a controlled hydration system.
Materials You’ll Need (With Smart Substitutes)
You don’t need a gardening store—most items are already at home.
Basic setup:
- 1 plastic bottle (500ml–2L depending on plant size)
- Cotton string, fabric strip, or sponge (wick)
- Potting soil (well-draining mix)
- Scissors or cutter
- Water
Optional upgrades (worth it):
- Activated charcoal (reduces odor and mold)
- Liquid fertilizer (diluted)
- Dark tape or paint (prevents algae growth)
Pro tip: Match bottle size to plant needs. Herbs thrive in smaller bottles; tomatoes or peppers need larger reservoirs.
Step-by-Step: How to Make a Self-Watering Planter
Step 1: Cut the Bottle
Slice the bottle roughly in half. The top becomes the plant holder; the bottom is your water reservoir.
Step 2: Insert the Wick
Thread a cotton string or fabric strip through the cap. This is what pulls water upward.
Step 3: Assemble the System
Invert the top half into the bottom half so it sits like a funnel.
Step 4: Add Soil
Fill the top section with potting mix. Avoid compacting it too tightly.
Step 5: Fill Water Reservoir
Add water to the bottom section (about ¾ full).
Step 6: Plant and Pre-Water
Plant seeds or seedlings, then lightly water the top once to activate the system.
Step 7: Monitor and Adjust
Refill the reservoir every 1–2 weeks depending on climate and plant type.
Real-World Example: A Beginner’s 30-Day Experience
A typical beginner setup using basil:
- Day 1: Setup completed in under 10 minutes
- Day 3–5: Soil remains consistently moist
- Day 10: No need to water manually
- Day 14: Reservoir refilled once
- Day 30: Faster growth compared to irregular watering
The key observation? Plants grow more evenly, without stress from drying cycles.
Advanced Optimization (What Most Guides Don’t Tell You)
1. Control the Water Flow Precisely
- Thin wick = slower moisture transfer
- Thick wick = faster hydration
- For humid climates: use thinner wicks
- For hot climates: double-wick system
2. Use Light-Blocking Bottles
Clear bottles encourage algae. Wrap them in:
- Aluminum foil
- Dark tape
- Cloth sleeve
3. Layer Your Soil Strategically
Top to bottom:
- Compost layer (nutrients)
- Potting mix
- Perlite layer (drainage)
This prevents soggy roots while maintaining moisture.
Cost Breakdown: Is It Really Worth It?
| Item | DIY Cost | Store-Bought Equivalent |
|---|---|---|
| Plastic bottle | Free | — |
| Wick material | $0–$1 | — |
| Soil | $2–$5 | $5–$10 |
| Self-watering pot | — | $15–$40 |
Total DIY cost: ~$3–$6
Savings per planter: Up to 80–90%
This makes it ideal for:
- Students
- Urban gardeners
- Balcony setups
- Large-scale seed starting
Hidden Mistakes That Ruin Most DIY Planters
1. Using Garden Soil Instead of Potting Mix
Garden soil compacts and blocks water movement.
2. Oversized Wick
Too much water = root rot.
3. Ignoring Climate
Hot weather requires more frequent refills and larger reservoirs.
4. Placing in Low Light
Self-watering doesn’t fix poor sunlight.
5. Letting Water Sit Too Long
Stagnant water can develop mold—clean monthly.
Best Plants for Bottle Self-Watering Systems
Excellent Choices:
- Basil
- Mint
- Spinach
- Lettuce
- Green onions
Moderate Success:
- Cherry tomatoes (larger bottles needed)
- Peppers
Avoid:
- Root vegetables (carrots, potatoes)
- Large fruiting plants (unless heavily modified)
Pros and Cons (Honest Reality Check)
Pros:
- Extremely low cost
- Water-efficient
- Great for beginners
- Reduces maintenance
Cons:
- Limited root space
- Not visually appealing unless customized
- Needs occasional cleaning
- Not suitable for all crops
Bottom line: It’s perfect for small-scale, low-effort gardening—but not a replacement for full garden systems.
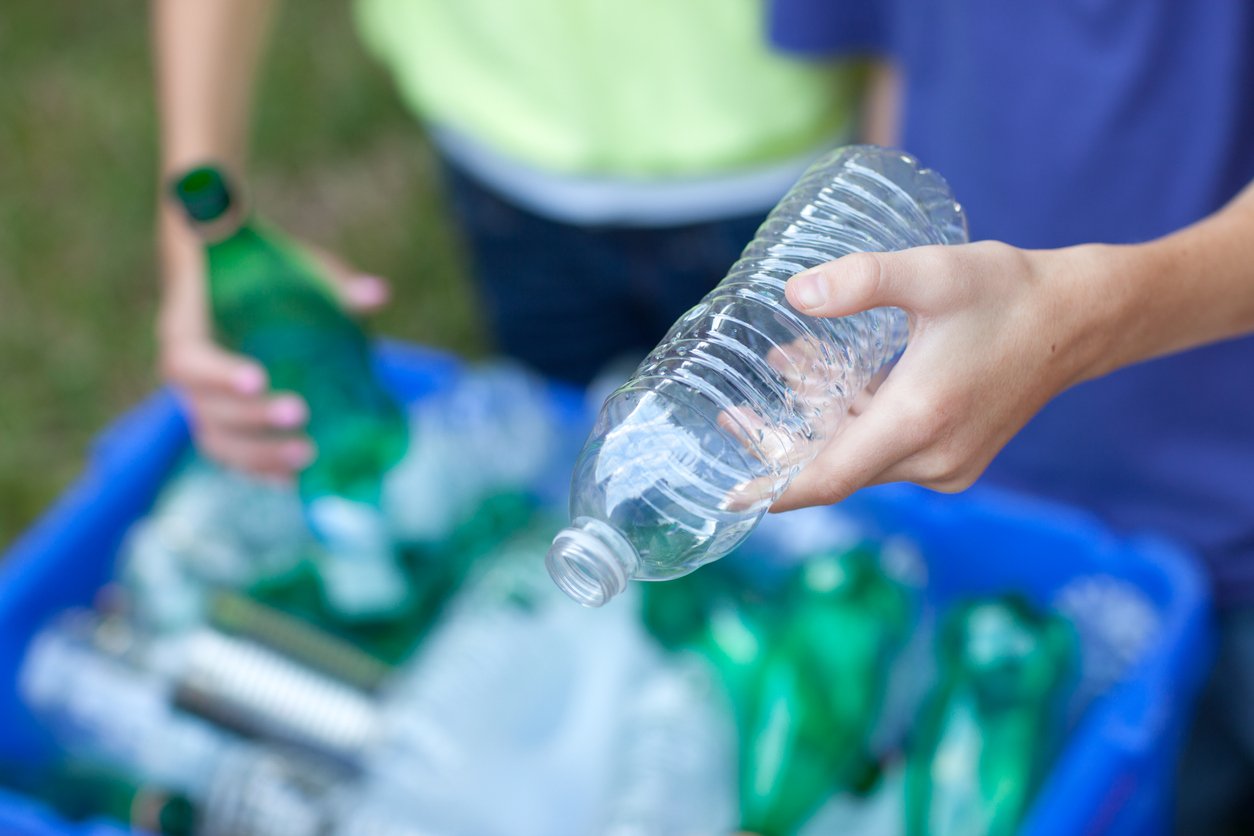
Sustainability Impact: Why This Matters More Than Ever
Plastic waste remains a massive global issue, with billions of bottles discarded annually. Reusing even a small number at home contributes to:
- Reduced landfill waste
- Lower demand for new plastic products
- More efficient water use
DIY reuse solutions like this support a circular economy mindset, where waste becomes a resource instead of a problem.
Customization Ideas (Make It Look Good Too)
If aesthetics matter, try:
- Painting bottles with weatherproof colors
- Wrapping in jute or fabric
- Hanging vertical garden setups
- Creating multi-bottle wall systems
This turns a functional tool into a decorative feature.
FAQ: What People Actually Search
How long does a self-watering bottle last?
Typically 1–2 weeks before refilling, depending on plant and climate.
Can I use any plastic bottle?
Yes, but food-grade bottles (like soda bottles) are safest.
Does it work indoors?
Yes—especially for herbs near windows.
How do I prevent algae growth?
Block sunlight from reaching the water reservoir.
Can I add fertilizer?
Yes, but dilute it (¼ strength) to avoid buildup.
Conclusion: Small Hack, Big Impact
DIY self-watering planters from plastic bottles aren’t just a clever trick—they’re a practical system rooted in efficiency and sustainability.
They solve real problems:
- Inconsistent watering
- Busy schedules
- Limited budgets
And they do it with something you’d otherwise throw away.
Start with one bottle. Test it. Adjust it.
Once you see how well it works, scaling up becomes obvious.
For a simple idea, the impact is surprisingly powerful.
DIY self-watering planters
plastic bottle planter
recycled bottle garden
homemade self-watering pots
eco friendly gardening
bottle gardening ideas
Found this helpful? Share it!